How to create accurate construction drawings for printing
Because of how important construction drawings are, there is a need for a high level of accuracy when creating them... You should also consider the actual...
Creating accurate construction drawings is just as important—if not more—as printing these drawings correctly. How so?
Well, no matter how high the print quality is, poorly designed plans will still lead to errors, making it hard for stakeholders to make proper design decisions. Therefore, the process behind creating construction drawings must be optimized to ensure clarity and precision.
So, while we want you to print construction drawings with ease, we also want to help improve your creative process. This is why we’re sharing these 5 tips for creating accurate construction drawings.
Here we go.
01. Understand the brief
First, you need to get a clear brief from your client and clarify what your deliverables are. This applies both to interior and exterior design projects.
The information provided by your client or partners involved will help you determine the scope of work and decide the best way to approach the design process for your construction drawings.
So, based on the brief, consider:
The intended use of the space
How people will interact with the building over time
Project timelines and sustainability factors
The actual construction process and available resources
With these in mind, you have the key details you need to create construction drawings that are both practical and feasible for execution.
You also want to discuss with other key professionals involved in the project to get any additional information that’ll be useful to you.
02. Work in segments
Once you know what’s required of you, it’s time to plan your work.
Now, instead of handling the entire drawing at once, break it down into manageable sections. That’s how to ensure that each room or segment has attributes that fit the intended function.
Typically, you can work with two segments:
Macro divisions: Divide the entire building into major functional segments. This is mostly based on the building’s overall purpose. So, a shopping mall can be split into segments like retail areas, anchor stores, leisure spaces, etc.
Micro divisions: Within each major segment, you can then divide into specific rooms, hallways, and spaces. Retail areas, for instance, can be split into individual stores. Each store can then be designed based on its specific functions.
Overall, splitting your design process into segments ensures that you can deliver well-thought-out solutions. And, that’s how you get more effective construction drawings.
Clear segmentation also makes communication easier between other stakeholders like engineers, contractors, and clients. Each professional can focus on their core areas with more clarity.
03. Work with layers
When doing the actual design, consider using layers to organize your work.
Layers allow you to separate different design elements within CAD software. For instance, you can place dimensions, structural elements, and electrical layouts on distinct layers. This makes it easier to edit as you design. And, you can focus on specific elements without affecting others.
Also, by assigning specific elements to separate layers, you can control their visibility when preparing the construction drawings for printing.
So, if you need to print a version of the drawing without certain details, you can simply turn off the corresponding layer before exporting your work. It saves you from the need to create multiple versions of the same drawing.
Thankfully, most PDF viewers also support layer visibility control. So, if you’ve exported your design with all the layers intact, you can instruct your construction plan printer to toggle the visibility of these layers as needed.
04. Master space planning and use standardized symbols
Space planning in construction drawings isn’t just about the technical placement of elements; it’s also about creating a functional and user-friendly design. This means you should think like those who will actually use the space.
For instance, if you were planning for a residential building, you’d work with family-friendly layouts. One with well-planned living spaces, utility placements, and convenient navigation. If it were a factory, your drawings would focus on optimizing workflow by mapping out machinery placement, storage areas, and movement paths for workers.
For efficient space planning, your construction drawing should highlight clear details like zones, focal areas, patterns, and access routes.
Zones: Divide the space into distinct functional areas—think living rooms, work zones, or recreational areas. Label these zones in your drawings to help organize construction activities better.
Focal areas: Identify and highlight major points of interest or activity (a gaming center, courtyard, feature wall, etc.). This is quite relative to the type of space you’re creating. Indicating these focal areas in your drawings ensures they are better emphasized in the design and construction process.
Patterns: Plan and illustrate the follow of movement within the space by designing logical pathways and circulation routes. A clear indication of these patterns in your architectural plan allows for a more precise implementation in the building stage.
Access routes: Show how people and materials will move through the space. Highlight entry and exit points, corridors, service routes, and similar positions. With an accurate depiction of these details, you’ll be ensuring proper safety and compliance with building codes—which, you should keep in mind as you create your drawings.
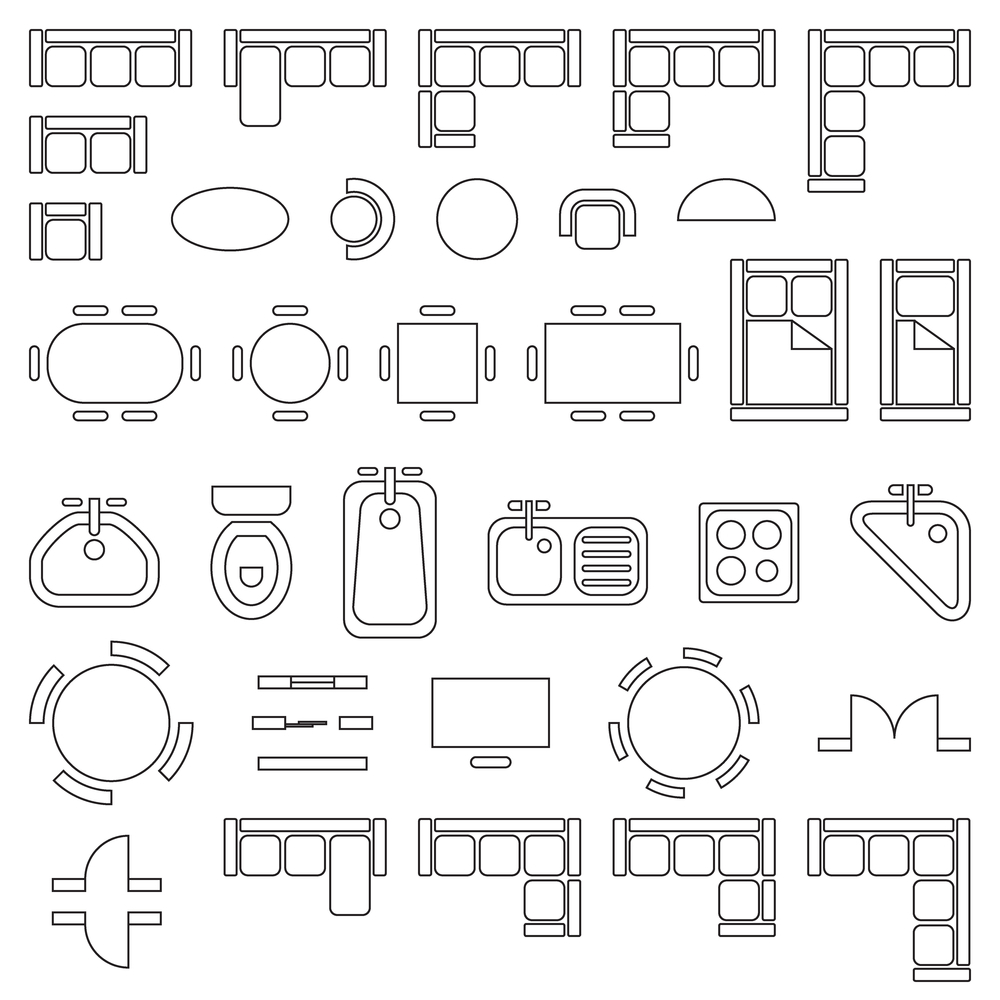
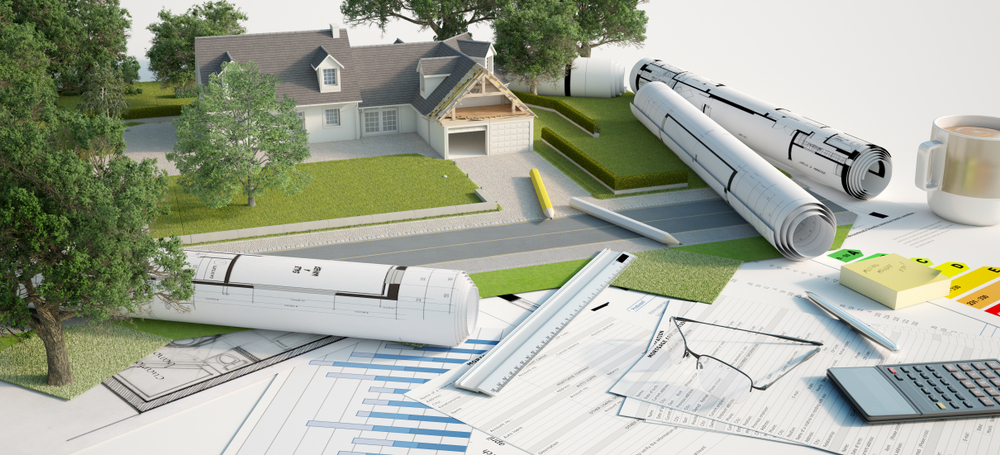
Photo credit: Darsi | Shutterstock
Finally, use clear symbols to depict specific building features—furnishing, electrical appliances, entry points, zones, and so on. These symbols must be accurately positioned across the space. This is important, especially when you’re printing construction drawings to share with your team.
05. Use annotations
Annotations include notes, dimensions, symbols, and labels that provide context to the graphical information in your construction drawing. So, they help anyone going through the drawings understand what you’ve created.
Thankfully, platforms like AutoCAD have a suite of text tools you can use to add descriptions and notes to your drawings.
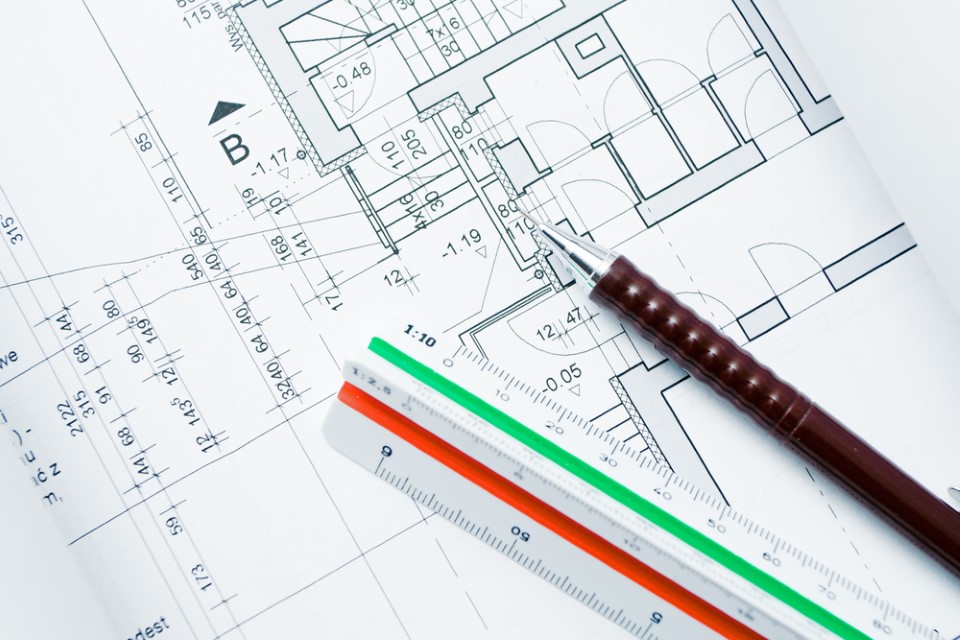
Photo Credit: Blazej Lyjak | Shutterstock
Ideally, annotations for your architectural drawings should specify:
Dimensions: The size and location of elements. Be sure to include linear dimensions, angular dimensions, radial dimensions, and similar details.
Notes: Written explanations, specifications, and instructions concerning specific elements or areas in your drawing. Add clear notes to define material types, installation procedures, and any relevant information that can help those executing the designs.
Labels: Use them to identify elements like rooms, door numbers, and window types.
Symbols and legends: while symbols are graphic, the legends are used to define what each symbol represents.
To effectively apply annotations, use consistent fonts and sizes. Also, avoid stuffing too much information in one place. Advisably, place annotations close to the elements they describe and organize them in a logical flow.
Proper annotations eventually translate into guidelines for accurate implementation.
Get your drawings print-ready
If you plan to print your construction drawings, ensure they’re set up correctly for professional printing services. It’s advisable to conduct a thorough check to ensure that your drawings are ready to send off.
First, double-check that the scale and paper size settings are correct. Then, ensure all lines, texts, and symbols are legible enough at the intended print size. Also, make sure the annotations and symbols are clear and easy to understand. Remember to preview the drawings severally to identify potential issues that may ruin printing your architectural drawings.
Once all the boxes are checked, you can send the drawings to a professional construction plan printer near you.
Also read: 7 Important Architectural Drawings to Print for Construction Projects
Choose the right partners for efficiency. Contact PrintMyDrawings for the following printing needs:
Architectural Design Drawings
Construction Detail Drawings
Electrical Drawings
Engineering Drawings
Mechanical Drawings
Business Documents
Related Articles
7 Important Architectural Drawings to Print for Construction Projects
Photo Credit: Frank Boston | Shutterstock Construction projects often require printing various types of architectural drawings—site plans, floor plans, structural drawings, mechanical drawings, and so on. Each type serves a specific purpose. For instance, some plans focus on the overall…
January 12, 2026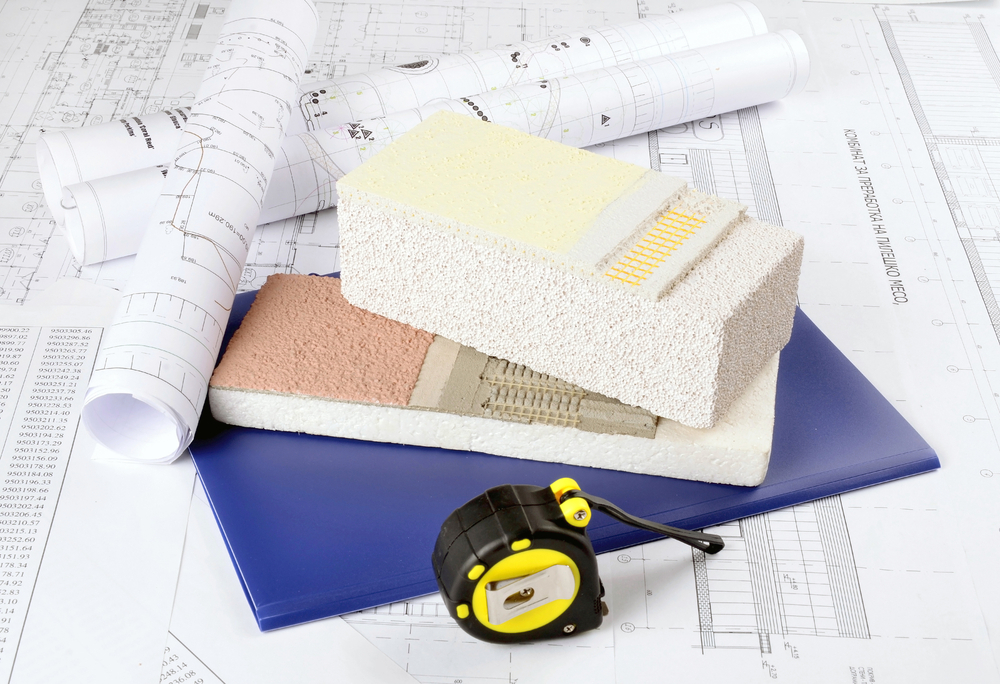
How to Present Your Architectural Plans and Construction Drawings
Presenting your designs is an essential part of any building project. Having conceptualized a great design or drawing, how well you communicate your work to...
January 12, 2026
5 Critical Mistakes That Ruin Architectural Plan Printing
Architectural plan printing is quite technical and involves processes that may seem too much for an observer. But how many times have you done an amazing job with your architectural drawings or blueprints only to have poor quality prints
January 12, 2026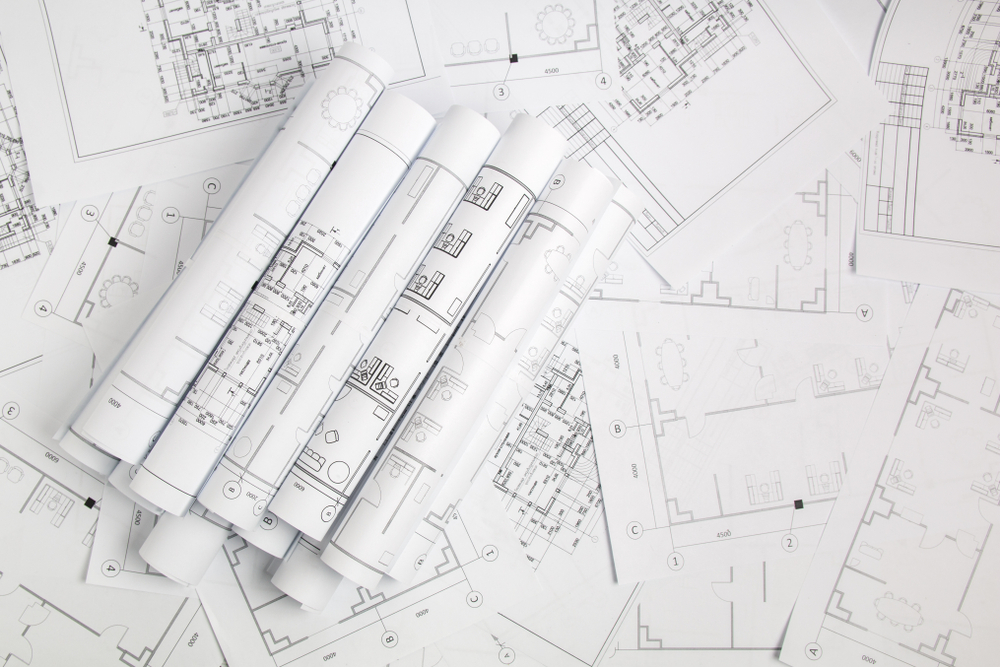
7 Important Things to Know Before You Print Architectural Drawings
Whenever you print architectural drawings, you want to ensure that all the major details have been checked. Here's why: Coming up with great architectural designs takes time and requires a lot of work.
January 12, 2026